Resources Schoolyard Fight Render

The Welsh Paddy

The Human Flamethrower
Veteran
Joined
Oct 22, 2006
Messages
956
Age
37
Location
North Wales
Gil
10
Cactuar
TheBoysRender_zps4142327c.png


Right, so here's my first shot at rendering. :monster:

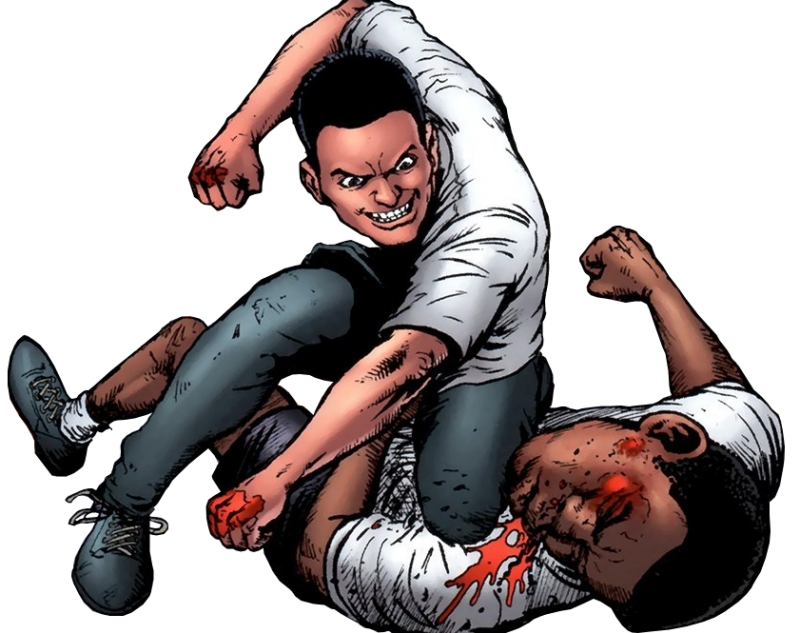
Lewis suggested I give it a shot, so I took this image from a panel in this comic series called The Boys. The original image is HERE. Pretty much all I did was take the Polygonal Lasso Tool and go around those two characters. :lew:
 

Attachments

  • TheBoysRender_zps4142327c.png
    TheBoysRender_zps4142327c.png
    527 KB · Views: 260
Nice one mate youv done a bang up job there. Thats the best way to do it dude take out the pentool and just start tracing. Though i dont use it much the magnetic lasso that much its a brilliant tool.

Another tip for rendering. In photoshop right clicking the eraser lets you choose which type of eraser you want. I go for the background eraser. People seem to think this is a really rough tool which is no good for rendering but with the right settings its perfect. If you have an image you want to cut and it has a background which is more or less one colour youl get a perfect render from the BG eraser in less than 10 seconds. You play about with the strength to find the closest cut. I usually start around 20% depending on the image.
It works best when your image's background is a fairly opposite colour to the colours on the image your cutting out and preferably you dont want the BG to be really busy. Just one colour like i said above is perfect. That said though it still works with busy backgrounds, you just gotta find the right settings.

I learnt about this tool from a tutorial for rendering trees real quick. Seriously man try it. It totally works. I had a picture of a tree with a strong blue sky behind it. Half a dozen clicks with the eraser and i was left with a near perfect render of a tree. Its an awesome tool when it works. Yeah i admit sometimes it can be really shit. Combine it with the pentool though and bam.

:tldr: :nerd:
 
Another tip for rendering. In photoshop right clicking the eraser lets you choose which type of eraser you want. I go for the background eraser. People seem to think this is a really rough tool which is no good for rendering but with the right settings its perfect. If you have an image you want to cut and it has a background which is more or less one colour youl get a perfect render from the BG eraser in less than 10 seconds. You play about with the strength to find the closest cut. I usually start around 20% depending on the image.
It works best when your image's background is a fairly opposite colour to the colours on the image your cutting out and preferably you dont want the BG to be really busy. Just one colour like i said above is perfect. That said though it still works with busy backgrounds, you just gotta find the right settings.

I learnt about this tool from a tutorial for rendering trees real quick. Seriously man try it. It totally works. I had a picture of a tree with a strong blue sky behind it. Half a dozen clicks with the eraser and i was left with a near perfect render of a tree. Its an awesome tool when it works. Yeah i admit sometimes it can be really shit. Combine it with the pentool though and bam.

Wait so lemme get this straight. This background eraser tool just erases the background only? Do you choose the color and just erase it away? Definitely trying this.


And also that's a great render Paddy! The polygonal lasso tool usually does wonders for comic styled images. I prefer using the pen tool for everything but I appreciate anyone who sticks to the lassos. Grade A work! ^_^
 
The BG eraser is a circle shape like a normal eraser. In the centre of the circle is a small cross hair. When you click on an area it will remove that part you click on. Kinda like using the jug / fill tool. When you use that you can fill an area that is within a border. For instance if you draw a circle you can fill the inside with a colour using the jug. The background eraser works just like that but in reverse. You can choose the strength of the eraser. The lower the strength the more sensitive it is to outlines allowing you to remove backgrounds that are more cluttered and messy. Though the lower the strength the poorer the cut tends to be. When you have a background that is one solid colour and its not the same colour as the part you want to keep then you can just make the brush big enough to cover the whole canvas. Put the strength up fairly high and the entire background will be gone in one click. I always undo and raise the strength of the brush to get the absolute best cut I can. A lot of the time they come out perfect, as if id used the pentool.

If you wanna use this tool it does take a little practice. Not too much, as its not a complicated thing to use but after youv been using it for a while youl understand it and youl know what strength to put it at depending on the image and the colours etc. Youl be able to set the strength straight away and not have to play about with it.
 
Yeah, I don't think I'd ever use the magnetic lasso tool. Never works as well as I'd like, and I find it kinda lazy anyway. :hmmm: But the background eraser tool is something I'd completely forgotten about. :O I used to use it quite a lot before taking a couple of years break from making graphics.

Cheers, guys. :monster:
 
Back
Top